


You have decided to separate your office space with glass partitions. The first you should do is to measure the existing opening. Here you find a short guide with 5 steps that you can use when you are measuring up to make sure you do not forget or overlook all details.
Its important because once toughened glass is made, it is permanently the size it is, and you will not be able plane, shave or trim it down in case you have measured the opening incorrectly.
Also the estimated price of glass partitioning installation will depend on its size, so the first step is to defining a layout and then calculating how much partitioning you will need.
Simply follow the step by step following guide to measure the accurate dimension for glass partitioning.
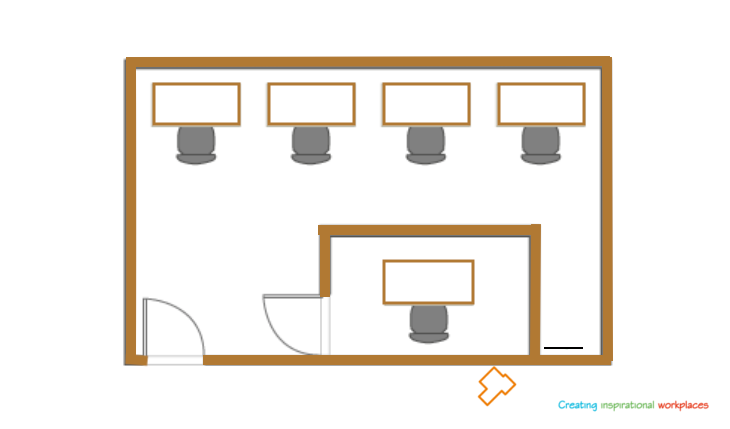
Step 1 Office Design Layout
The first what you should do is decide about an office design layout. Depending on how many of space you have available, you can have partitions in different configurations.
Once you’ve decided about a layout, take gaffer tape to mark out on the floor the lines where you plan the partitions to be installed.
Step 2 The Length of the Partitions
The next step is to define the length of the partitions. Because you have already have the gaffer tape on your floor just simply measure the length of it.
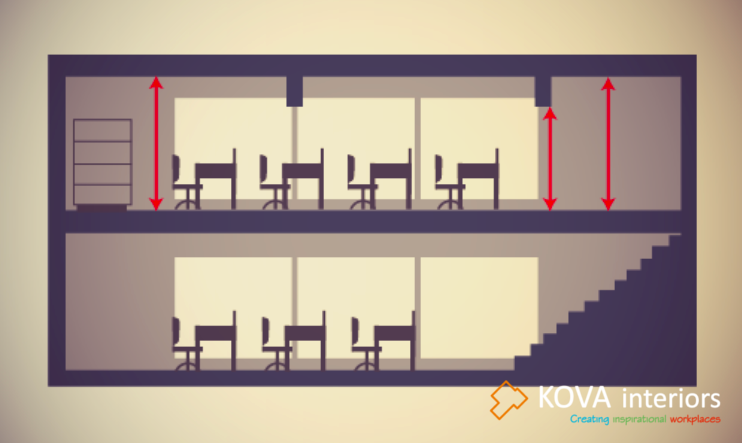
Step 3 The Height of the Room
While measuring the height of the room keep in mind that ceilings can sometimes be uneven. That is why you should take the height measurement in three different places, to the left, right and centre from floor to ceiling, in metres. If there is a variance, you should to take the shortest and narrowest measurements when calculating the size of the glass.
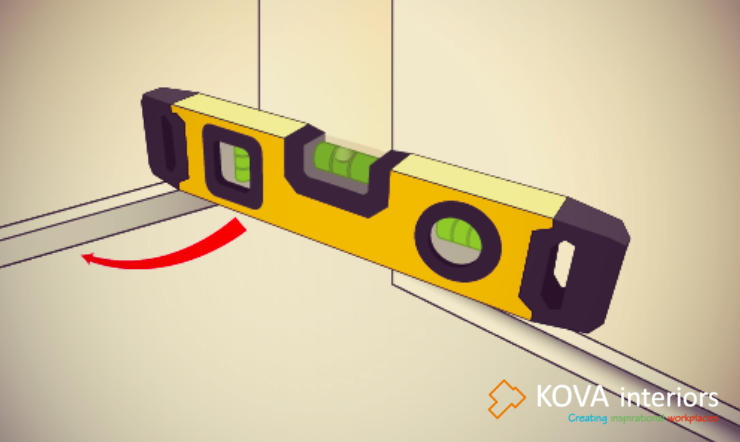
Step 4 Spirit Level
Some rooms can also have uneven floor. In order to get accurate dimensions use a spirit level to check whether the floor is flat. This is especially important if you are installing a door in your glass partition. Place the spirit level on the floor and make sure that the bubble is located right between the two black lines.
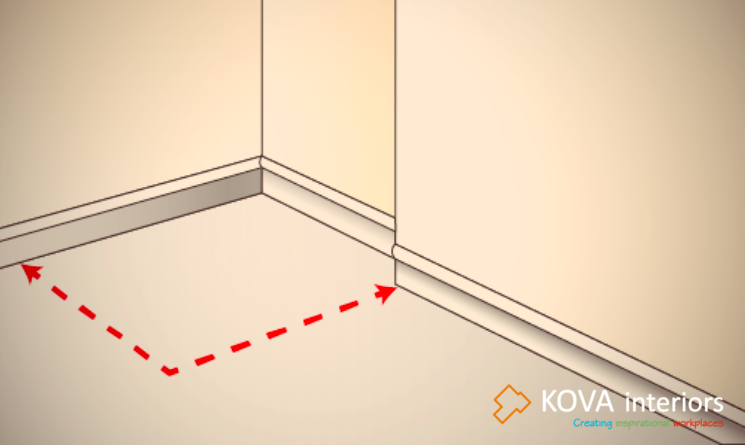
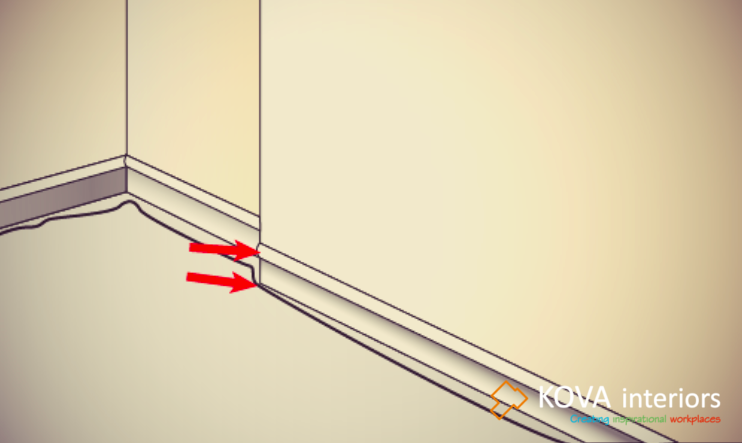
Step 5 Skirting Boards
Finally, check for any skirting boards, wires or pipes along the wall that might to get in the way of glass partitioning. You should take the outside edge of any obstacles as the threshold for your measurements described in step two.
You also need to consider
- Its very important accounting for skirting board before send the order for the glass.
There are two options with skirting board;
– You can cut the Glazing U channel fittings into the skirting board to make it fit straight to the wall;
– You can have a wooden batten up the wall of an equal thickness to the skirting board, and begin the U channel from the outside edge of the skirting board.
b) You should check that there are no cable ducts placed along walls, skirting boards or throughout the ceiling where the glass partitions supposed to be fitted.
c) It is important to decide whether the new rooms will be created as they might require additional light fittings and switches. It is much always easier to undertake any electrical work before the glass partition is placed.
d) You should determine whether there are any pipes or cables running under the floor where the glass partitioning is planned to install. For example, the installation of a frameless glass door utilising a floor mounted spring often requires a hole of a depth that might interrupt any pipes or cables located under the floor.
Once you’ve wrote down all of measurements, use Kova Partitions Calculator for an instant estimate. You just need to type contact details, the dimensions of your chosen partitioning system and how many doors you need.
The Kova Partitions Calculator provides a general guide to how much your glass partitioning will cost. If you have some site-specific details to discuss, you can call us or request a call back. Then, if you’re happy, we’ll visit the place to discuss what you would like to achieve.


